Use Appium Inspector on macOS or Windows with any MoreLogin cloud phone model that supports ADB and meets the UiAutomator2 driver requirements. The Inspector connects to the Appium Server on your computer, which uses ADB to communicate with the phone.
This guide uses Android 15 to illustrate direct ADB with a connection code and Android 15A to illustrate ADB through an SSH tunnel. Android 15 was verified end to end on Windows, and Android 15A was verified end to end on macOS. For other models, use the ADB Connection Guide to choose the connection method, then follow the same Inspector setup once ADB is connected.
Run ADB, Appium Server, and Appium Inspector on the same computer. If the device is already connected, verify that its row shows device in adb devices -l and that adb -s DEVICE_IDENTIFIER shell getprop ro.build.version.release returns a version. Then skip to the Appium setup.
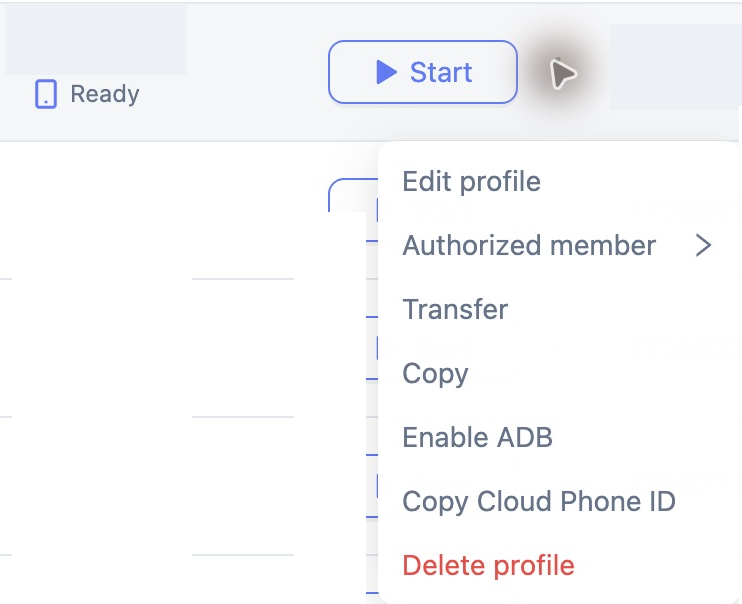
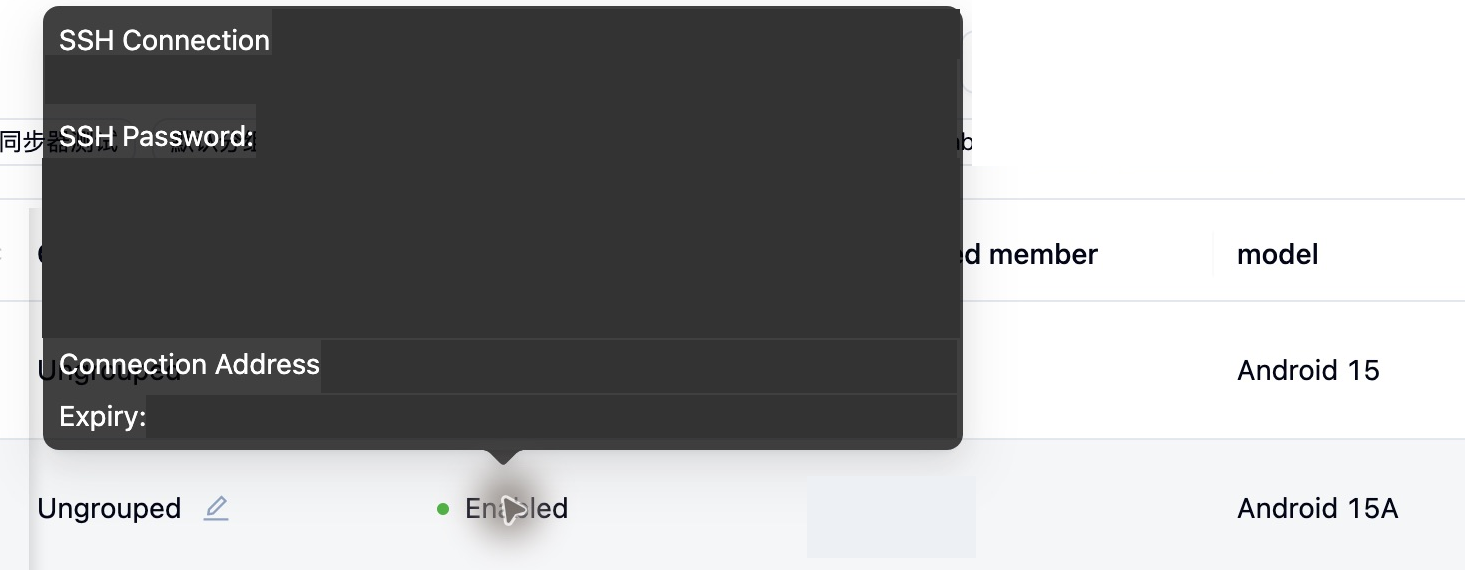
In MoreLogin Desktop, open Profiles → Cloud Phone and start the target phone. Open the row’s ⋯ menu and select Enable ADB. If the ADB column is off-screen, scroll the list horizontally. Hover over Enabled.
- Connection address and connection code indicate direct ADB, as shown for Android 15.
- SSH command, SSH password, and connection address indicate an SSH tunnel, as shown for Android 15A. Check the expiry time if displayed.

In Android Studio’s SDK Manager, install the SDK platform for your target Android version (API 35 for Android 15) and Android SDK Platform-Tools. Note the SDK location. Install JDK 17 and Node.js 24 LTS, then verify that adb version, java -version, node -v, and npm -v work in the shell where you will run Appium. Appium 3 requires npm 10 or later.
On macOS, adjust the SDK path if needed:
export ANDROID_HOME="$HOME/Library/Android/sdk"
export JAVA_HOME="$(/usr/libexec/java_home -v 17)"
export PATH="$ANDROID_HOME/platform-tools:$JAVA_HOME/bin:$PATH"
On Windows, open Edit environment variables for your account. Set ANDROID_HOME to the SDK directory and JAVA_HOME to the JDK directory. Add %ANDROID_HOME%\platform-tools and %JAVA_HOME%\bin to the user Path, then reopen PowerShell. Models that connect through an SSH tunnel also require OpenSSH Client. Run ssh -V to check it. If needed, install it under Settings → Optional features.
If adb version works but Doctor reports that ANDROID_HOME is missing, use (Get-Command adb).Source to find the executable. Set ANDROID_HOME to the SDK root that contains platform-tools. Set JAVA_HOME to the JDK 17 root and put its bin directory ahead of older Java entries in Path. Reopen PowerShell after changing user variables, or set these values for the current shell before running Doctor and starting Appium. Replace the example paths below with your own.
$env:ANDROID_HOME = 'C:\Android\Sdk'
$env:JAVA_HOME = 'C:\Program Files\Java\jdk-17'
$env:Path = "$env:JAVA_HOME\bin;$env:ANDROID_HOME\platform-tools;$env:Path"
java -version
adb versionFor direct ADB (Android 15 in this example), use the address and code from the MoreLogin tooltip. Replace the uppercase placeholders before running these commands:
adb connect DEVICE_ADDRESS
adb -s DEVICE_ADDRESS shell CONNECTION_CODE
A successful adb connect or a device row in the list confirms the ADB transport. The second command authenticates the connection and may print OK! Login successful.. If it opens a device shell, enter exit to return to your local terminal. If a shell command returns Access denied! Invalid password., authenticate using the current connection code from MoreLogin, preserving its case, then retry the command.
For ADB over SSH (Android 15A in this example), run the full SSH Connection command from the tooltip and enter the SSH Password when prompted. If the command ends in -Nf, it normally returns to the prompt once the tunnel starts. If your Windows SSH client rejects -Nf, use -N and keep that terminal open. In another terminal, connect to the address displayed by MoreLogin. The port is assigned for the connection, so replace the example port below with your actual value:
adb connect localhost:9897On either system, run adb devices -l. The target row should show device. Copy the entire first column into the Inspector’s appium:udid field. To verify the connection, run adb -s DEVICE_IDENTIFIER shell getprop ro.build.version.release using that exact identifier. See the ADB Connection Guide for other Android models.
If Appium 3 or UiAutomator2 is already installed, skip the corresponding install command. Stop any running Appium instance before installing the driver.
On macOS:
npm install -g appium@3
appium driver install uiautomator2
appium driver list --installed
appium driver doctor uiautomator2
appium --address 127.0.0.1 --port 4723 --base-path /
On Windows PowerShell:
npm.cmd install -g appium@3
appium.cmd driver install uiautomator2
appium.cmd driver list --installed
appium.cmd driver doctor uiautomator2
appium.cmd --address 127.0.0.1 --port 4723 --base-path /
If the installer looks for a compatible driver version, wait for it to finish and confirm that the installed list includes uiautomator2. Fix any Doctor errors for ADB or Java. If Doctor finds both adb.exe and java.exe and only reports a missing emulator as a required fix, you can proceed with a MoreLogin cloud phone that is already online through ADB. Keep the server terminal open. In a second terminal, run curl http://127.0.0.1:4723/status on macOS or curl.exe http://127.0.0.1:4723/status on Windows. Continue when value.ready is true. UiAutomator2 installation
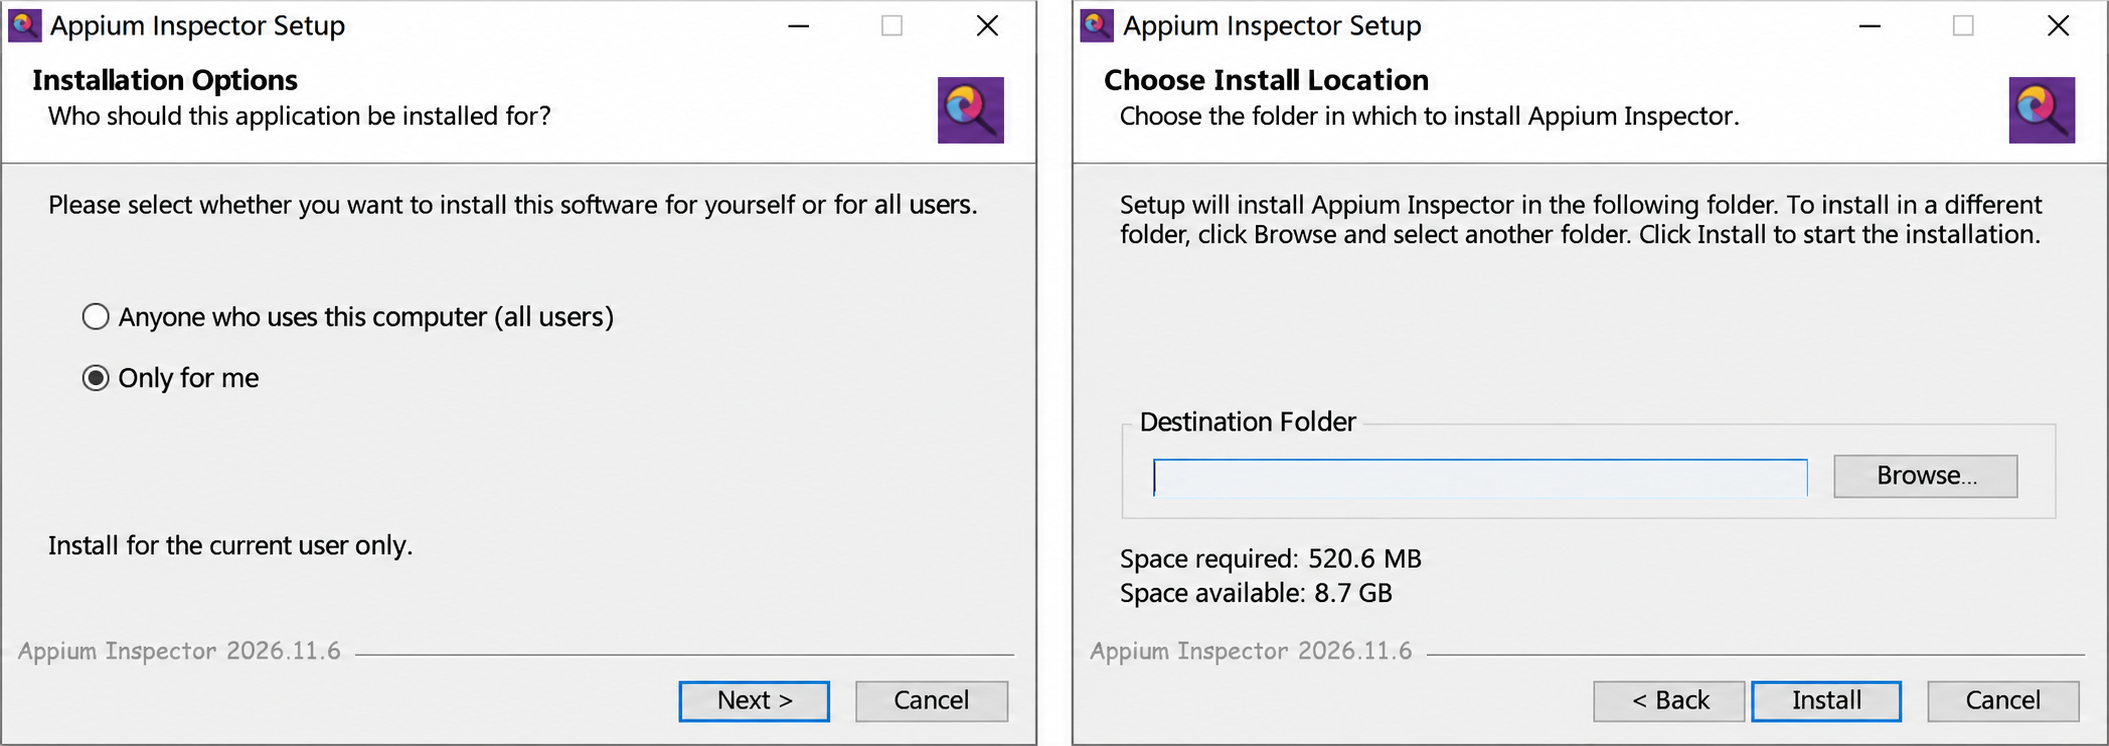
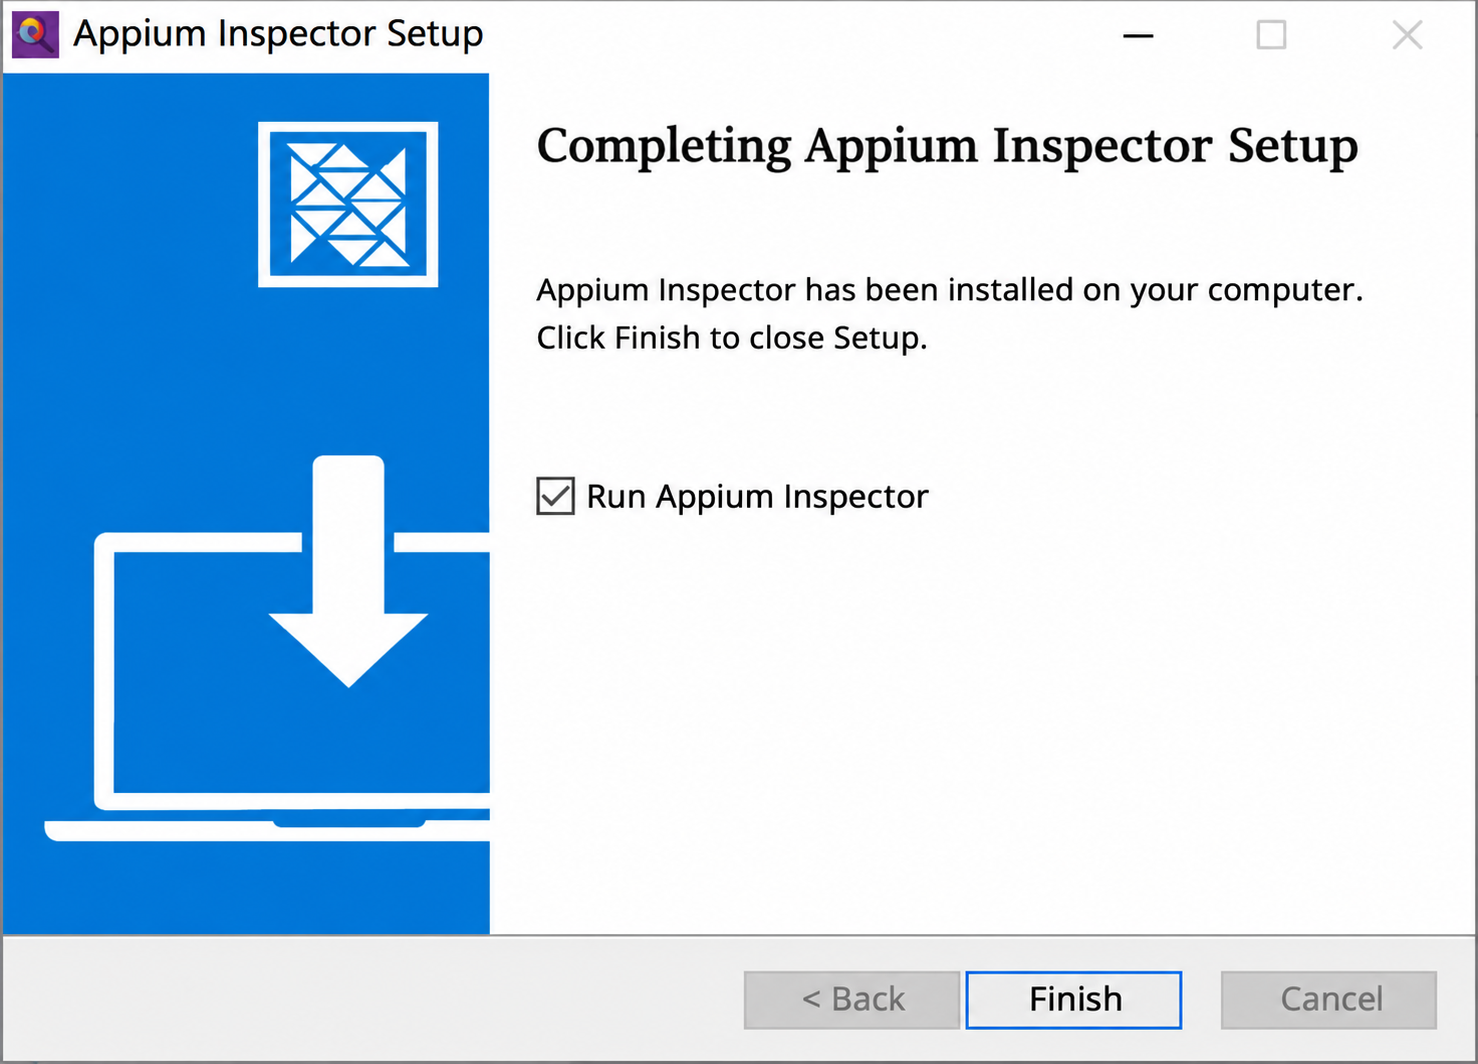
Open the official releases. On macOS, choose an arm64 DMG for Apple Silicon or an x64 DMG for Intel, then drag the app into Applications. On Windows, download the Windows EXE, run it, select installation for the current user, choose a location, and click Install. Then select Run Appium Inspector and click Finish. The Windows screenshots below show the installer and application.
UI text translated into English
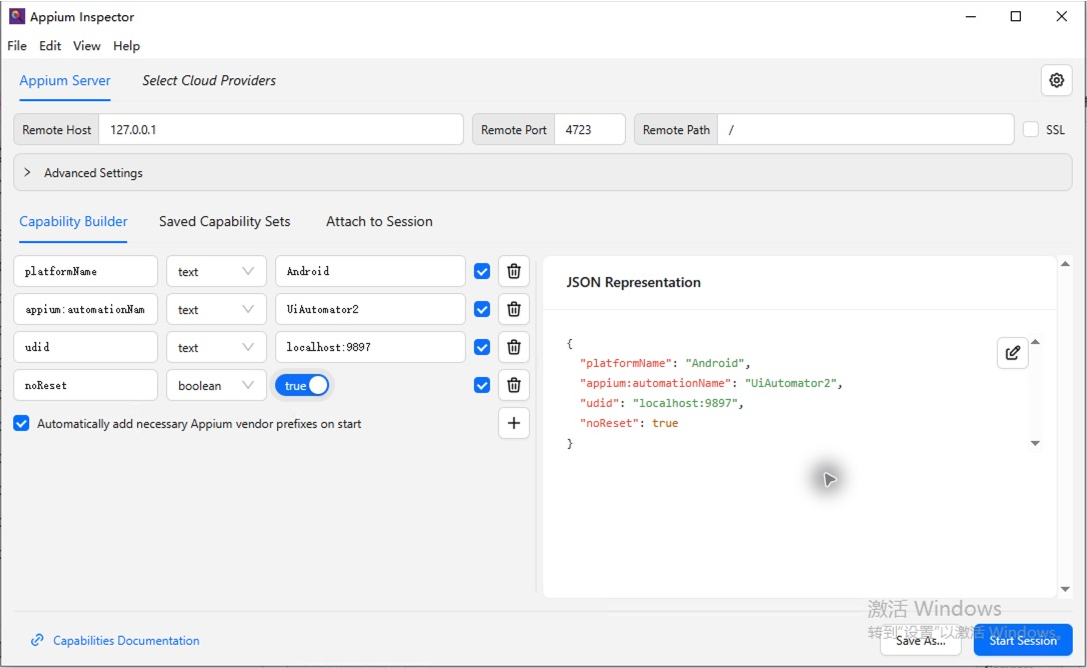
In the Appium Server tab, set Remote Host to 127.0.0.1, Remote Port to 4723, and Remote Path to /. Leave SSL and Use Proxy unchecked.
127.0.0.1:4723 is the Appium Server address. Use the direct or forwarded ADB address to identify the device in appium:udid.
In Capability Builder, edit JSON Representation, paste the following, and save. Substitute your actual device identifier for localhost:9897.
{
  "platformName": "Android",
  "appium:automationName": "UiAutomator2",
  "appium:udid": "localhost:9897",
  "appium:noReset": true
}
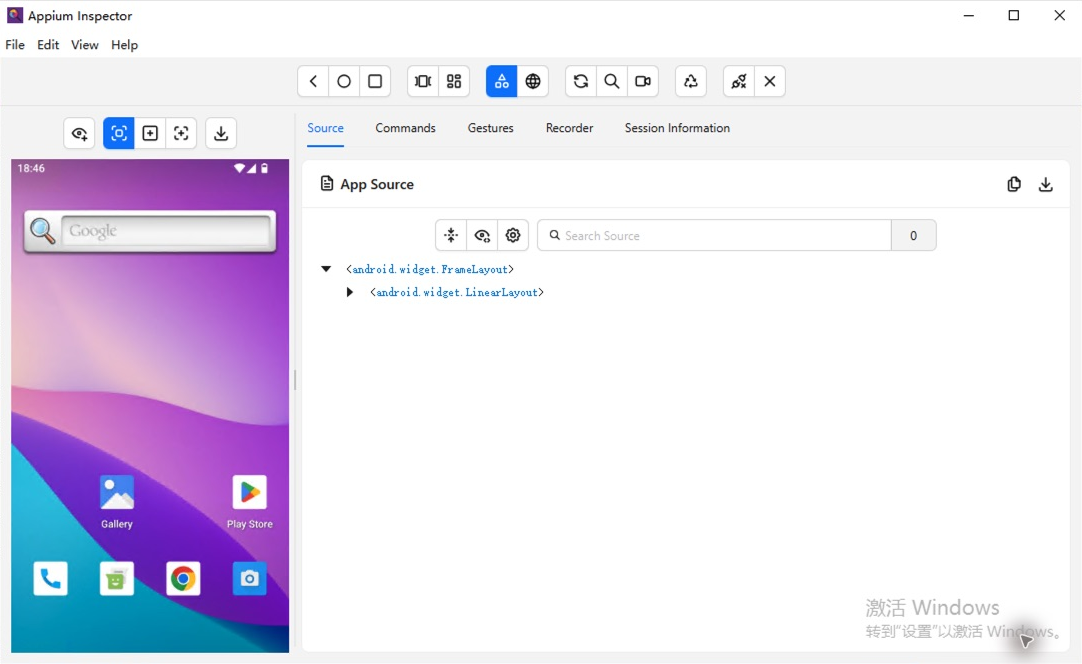
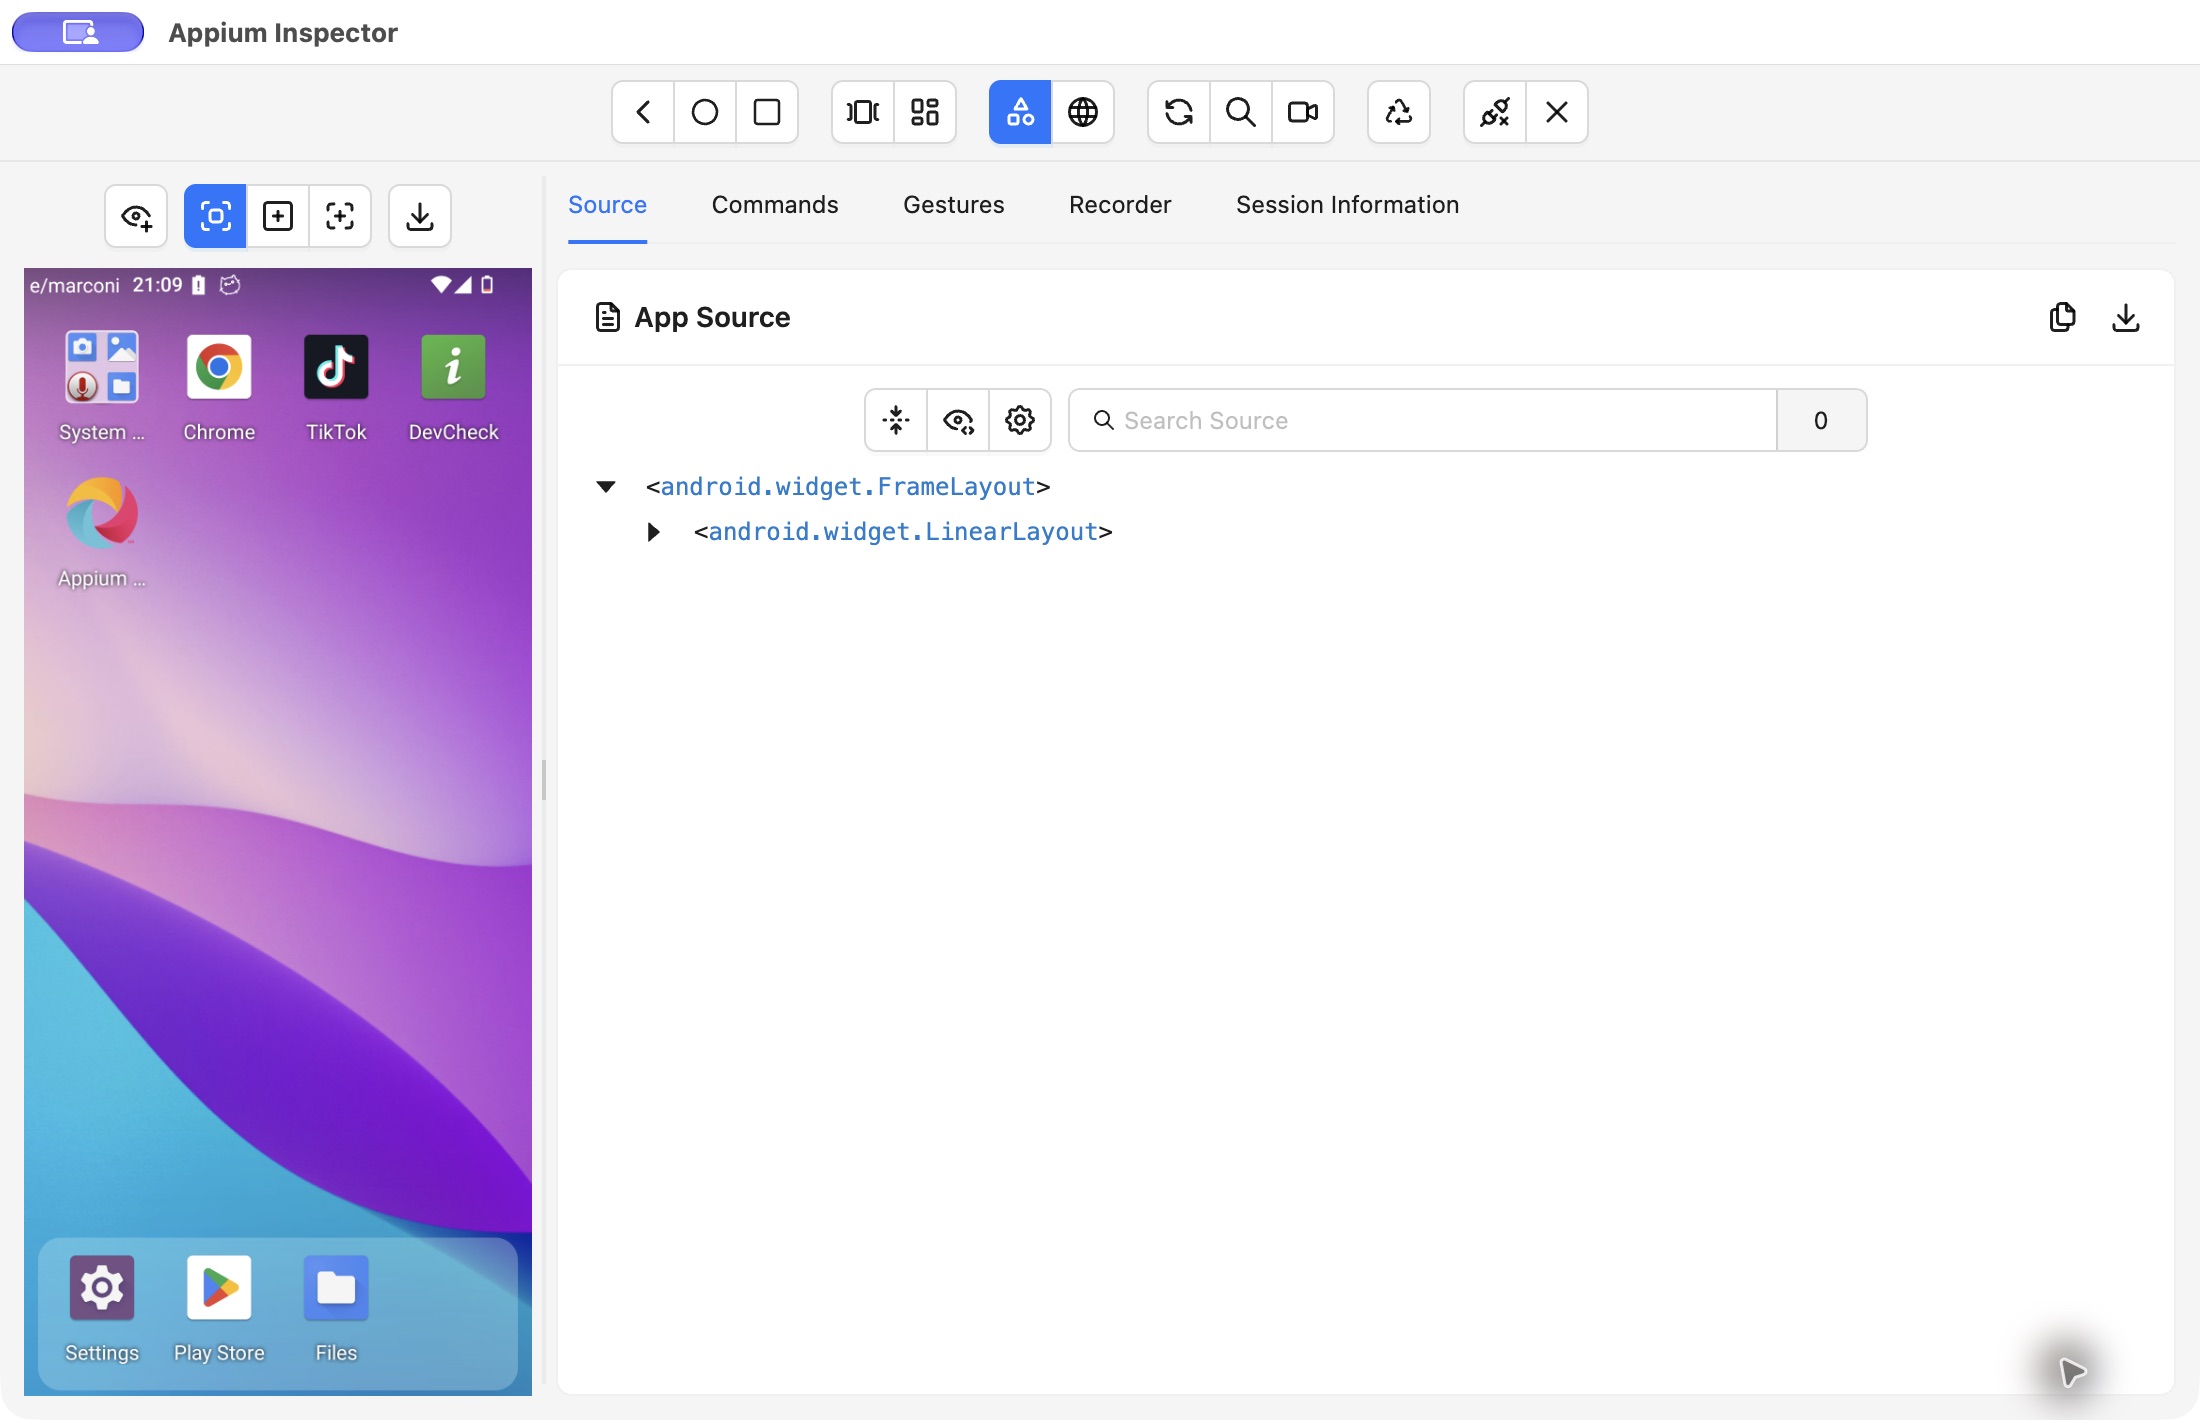
Click Start Session. Once the device screenshot and App Source load, open the app you want to inspect and refresh the source. The screenshots below show successful sessions for Android 15 on Windows and Android 15A on macOS.
- Cannot connect to Appium Server. Check
/status, then match the Inspector settings to the server startup log. - No device found. Run
adb devices -lon the same computer as Appium. Use the exact identifier from that list. For direct ADB, check connection-code authentication. For ADB over SSH, check that the tunnel is active and the connection details are still valid. Resolve anofflineorunauthorizedADB status before retrying the session. - UiAutomator2 driver not found. Check the installed drivers in the same Node.js environment that runs Appium, then install the driver and restart the server.